Raise3D N2 Printer - Unpacking and First Print
I ordered a Raise3D N2 printer as part of a KickStarter campaign. All of the Canadian orders were container shipped to the good folks at filaments.ca and then shipped out to individuals.
Mine finally arrived. Wow, that’s a huge box (about 28” x 29” x 32”).
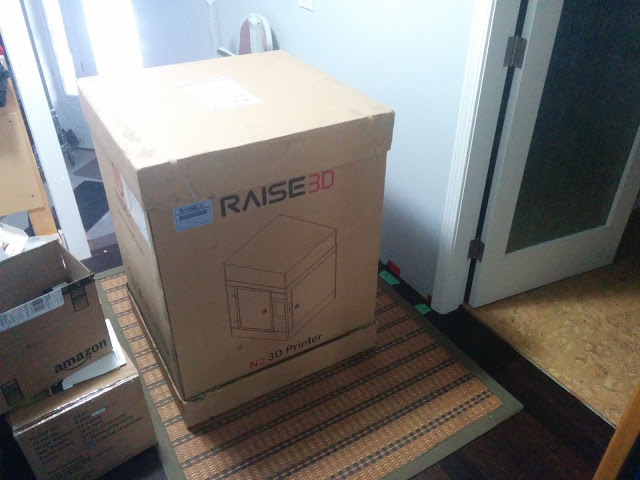
It was fairly easy to unpack. My outside door is 36” so it came in through that easily, but with the cardboard cap and bottom on, it wouldn’t quite fit through a 30” door opening (at least not without removing the door), so I unboxed it in the hallway and then moved it. The printer was very well packed, and the cardboard only had minor gouges and scratches on the bottom.
The buildplate was covered in BuildTak, but they didn’t do a very good job applying it. Mine had at least a dozen bubbles on it. I used a rounded piece of plastic to smooth out the bubble and pricked each one with a pin to allow the air to escape.This photo was taken from the back (glass side).
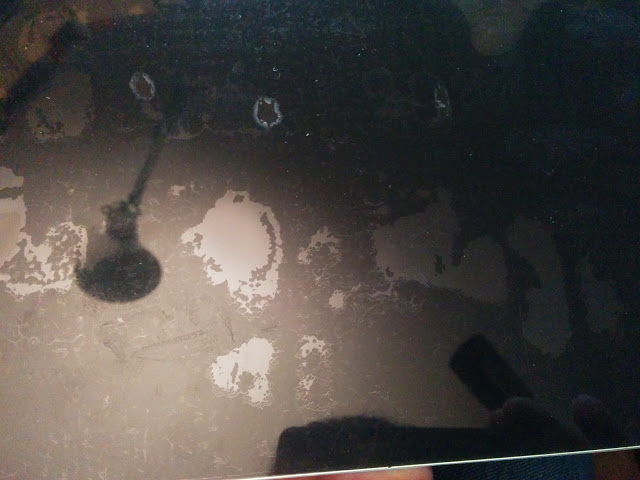
Here’s a photo from the BuildTak side before I removed the bubbles. It probably took me half an hour or so to remove all of the bubbles.

IdeaMaker (Raise3D’s slicing software) is currently only available for Windows and Mac (they claim that a Linux version is forthcoming - I hope). I had to install windows on one of my laptops so I could run IdeaMaker. I tried running in a VM, but it immedialtely crashed. As far as I can tell, you can use any slicing software you like, so you should be able to use other slicers as well.
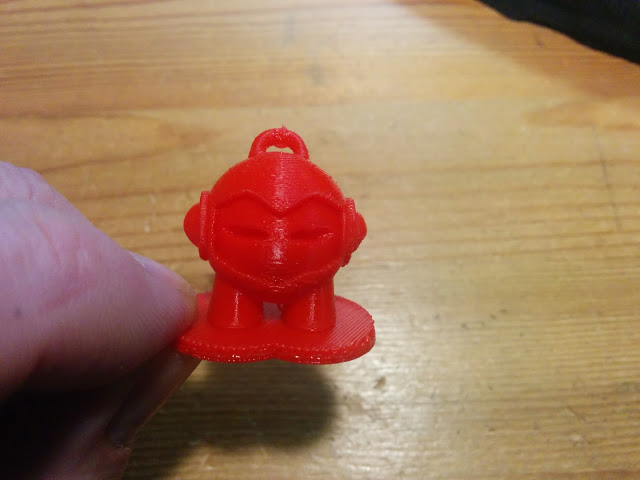
Here’s a video of my very first print. I normally don’t print a raft, but it seems to have added one. I expect that this is just a setting in the software someplace. I decided to do a Marvin as my first print. I made no adjustments to the printer before printing this. I upgraded to the dual extruder option, and my printer came with one spool of red PLA and one spool of yellow PLA. I printed the Marvin using the red PLA.
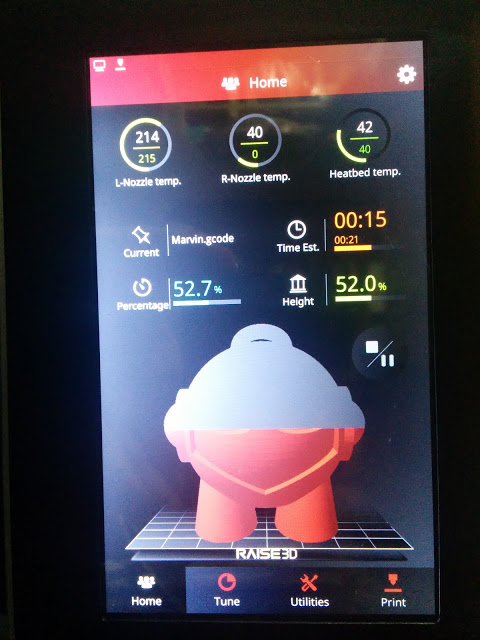
The printer comes with a builtin touch screen. Here’s a shot while it was part way through printing.
The windows software can connect to the printer over the network and upload files to internal storage. It turns out you can ssh into the printer too. The printer contains a processor running linux to manage the network and touch screen, and also has a processor for doing the realtime control. Unfortunately, the root account on the linux side of things has no password (which is bad). If you set a root password, then the windows software will no longer connect remotely to the printer. Hopefully, they’ll add an option to use passwordless ssh login so that I can set a root password.
Here’s a shot while printing.
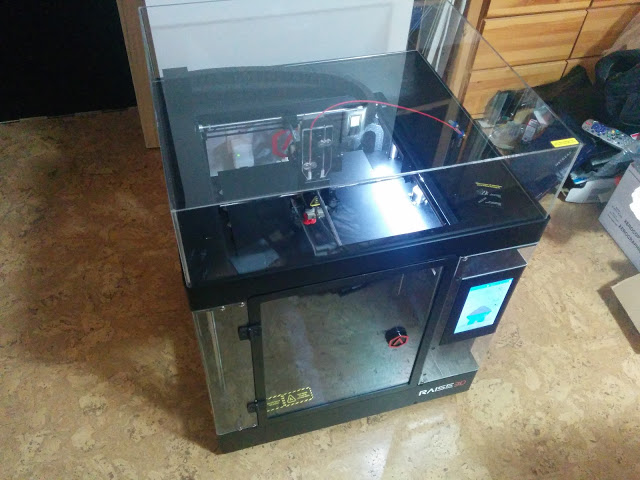
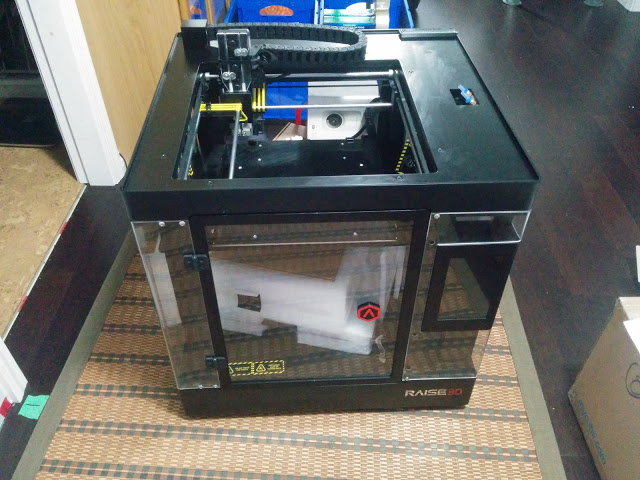
The build platform has 2 leadscrews, one on the middle of each side.
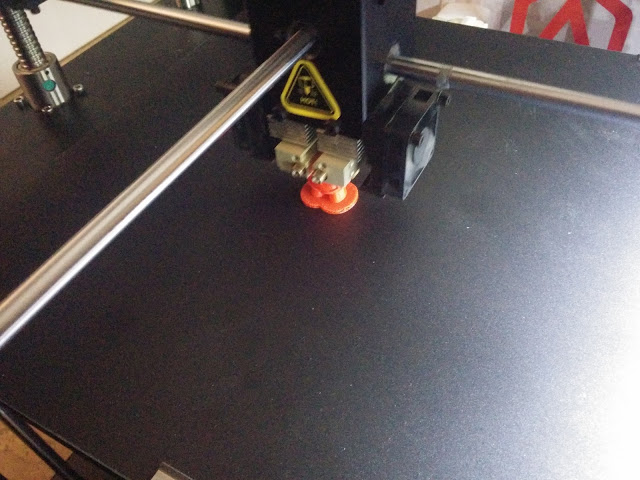
A shot through the front door, while printing.
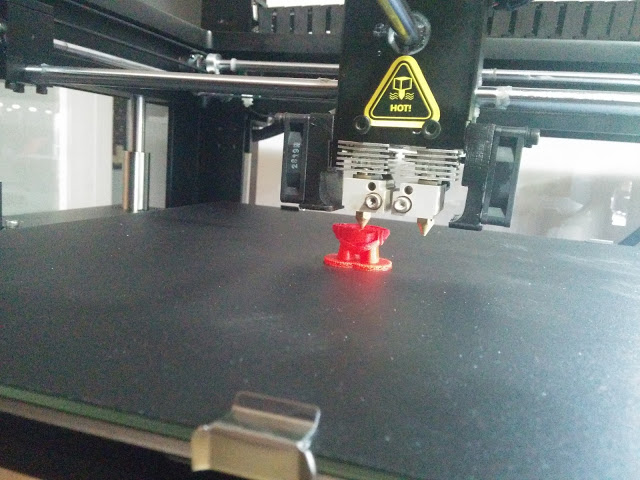
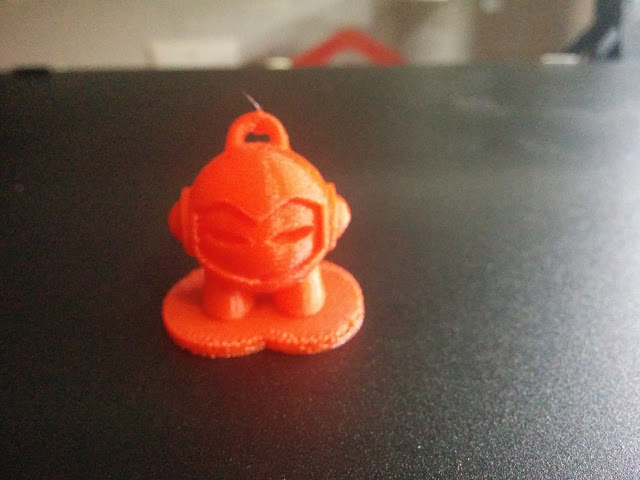
The finished print. I let the build plate cool down to about 29C and was able to remove the Marvin by hand. This was sliced using medium settings (0.15mm layer height) in the IdeaMaker software.
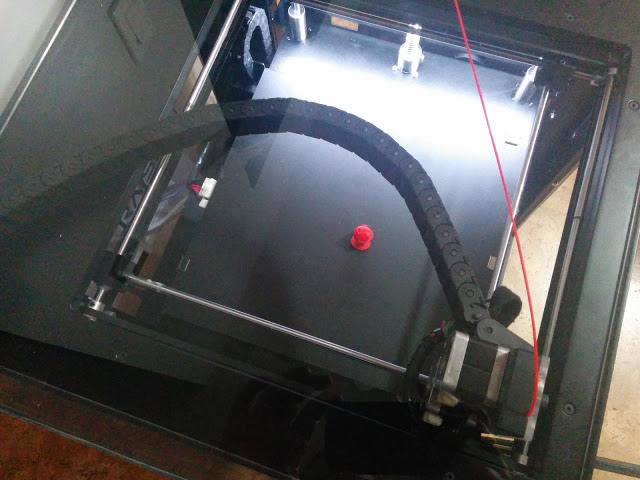
A shot of the teeny tiny Marvin in the middle of the build plate (you can supposedly print 12” x 12” x 12”).
Marvin removed from the build plate. I was able to remove the Marvin from the raft by hand.
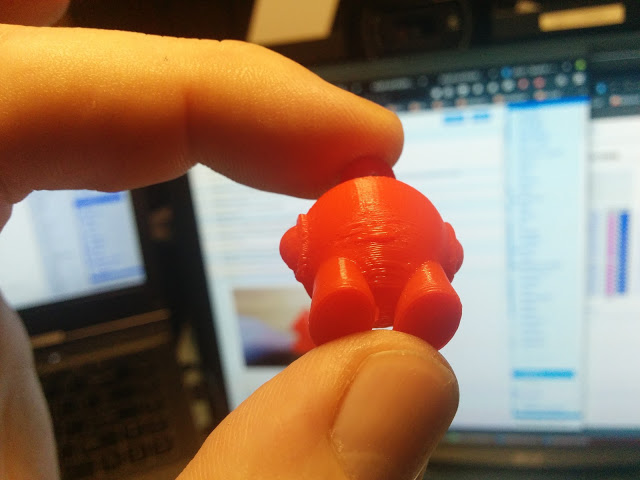
The filament cooling could definitely be improved. There were some droops on the back due to insufficient cooling. Fortunately, it looks like it will be possible to wire in an additional fan or 2. I recommend signing up for the Raise 3D Mailing List. There have already been several mods posted.
That’s all for now. I look forward to using this more.