OX - More clamps and a TinyG firmware issue
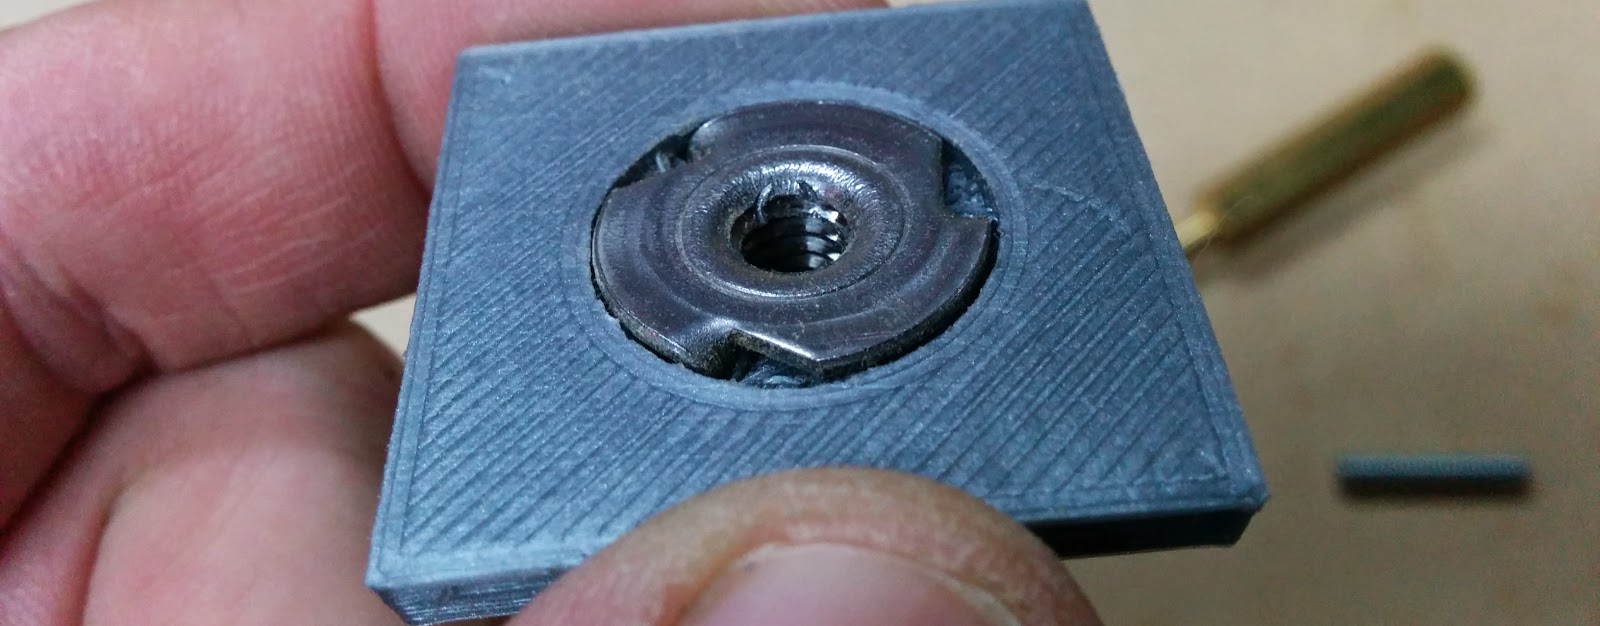
I printed some clamps and knobs on my 3D printer:

Related: Unboxing, Part 1, Part 2, Part 3, Part 4, Part 5, Part 6, Clamps
I put them together like this:
You can find the stl files here, and the original OnShape CAD files here.
I used a cut piece of 1/4”-20 allthread for the stud. I used a punch to damage the bottom thread so the stud would stop at the bottom:
This shows the stud being stopped. If it works its way through, I just bang on it some more!
4 clamps seems to work quite well for holding sheet stock down.
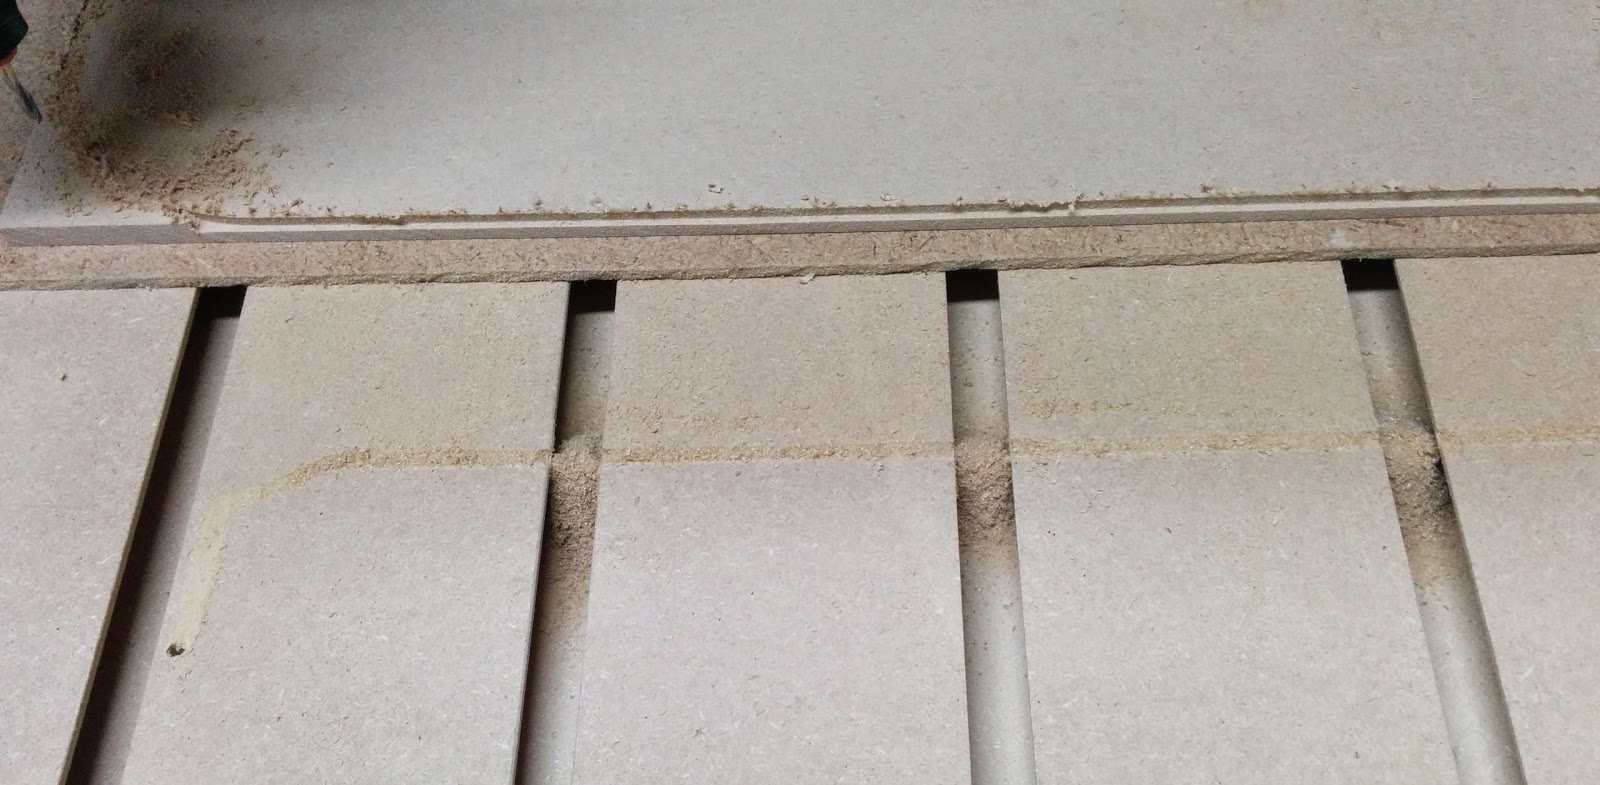
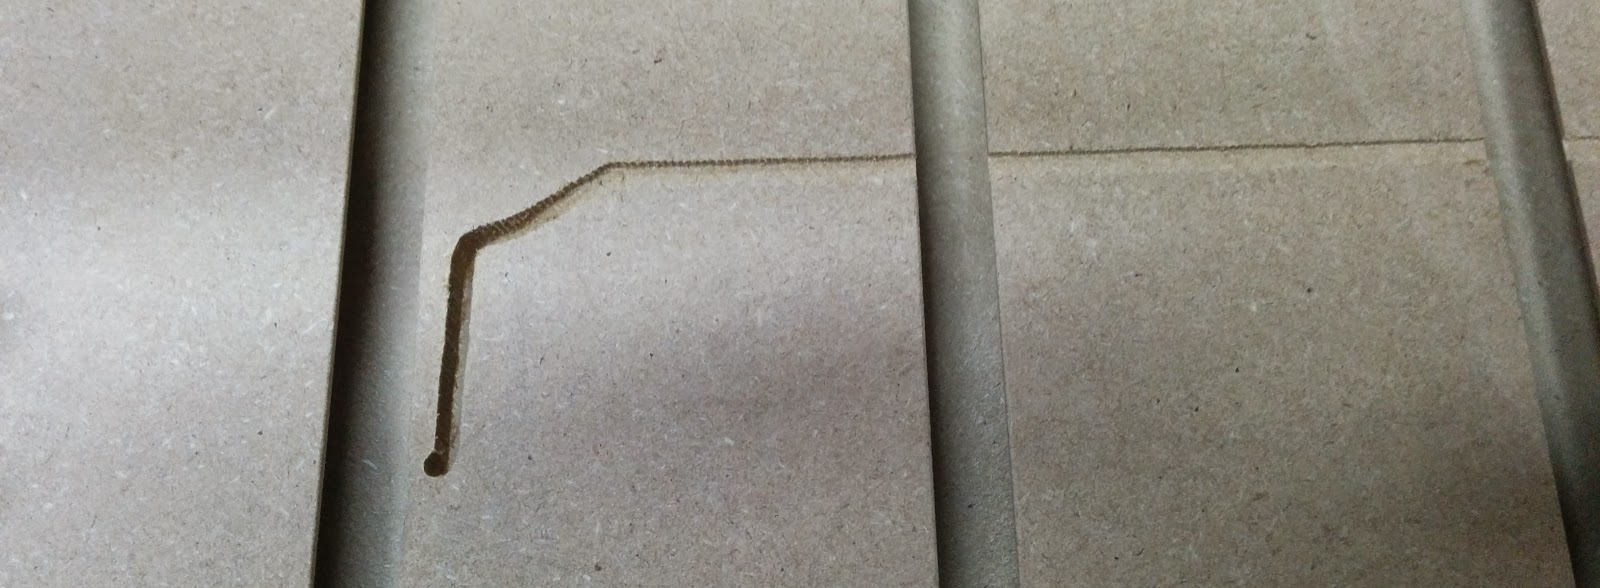
I started to cut a larger piece and my z-axis wound up dropping as it was cutting. I forgot to take some photos, but this was the aftermath:
After some vacuuming:
This was caused because the z-axis stepper was disabled while it was cutting, and then the cutting forces wound up pulling the head deeper and deeper into the cut.
I was running TinyG firmware version 438.02. I hooked up an LED to the Z-axis enable line on the TinyG board and sure enough, I could see the stepper driver being disabled while X & Y were still moving. I had the power management setting for all 4 motors set to 2, which is supposed to keep the motor enabled while any other axis is moving.
I asked about this over on the ChiliPeppr Google Plus group and it seems it was a firmware issue. So I downloaded the 440.14 firmware, flashed it, and immediately lost all of my settings. Sigh.
That created another diversion, and I went off and wrote a python program for archiving, restoring and viewing configuration files. You can find Config.py here. I’ve only tested it under linux, but it should work under Windows and Mac as well. Let me know if you have any suggestions, comments, issues, etc.
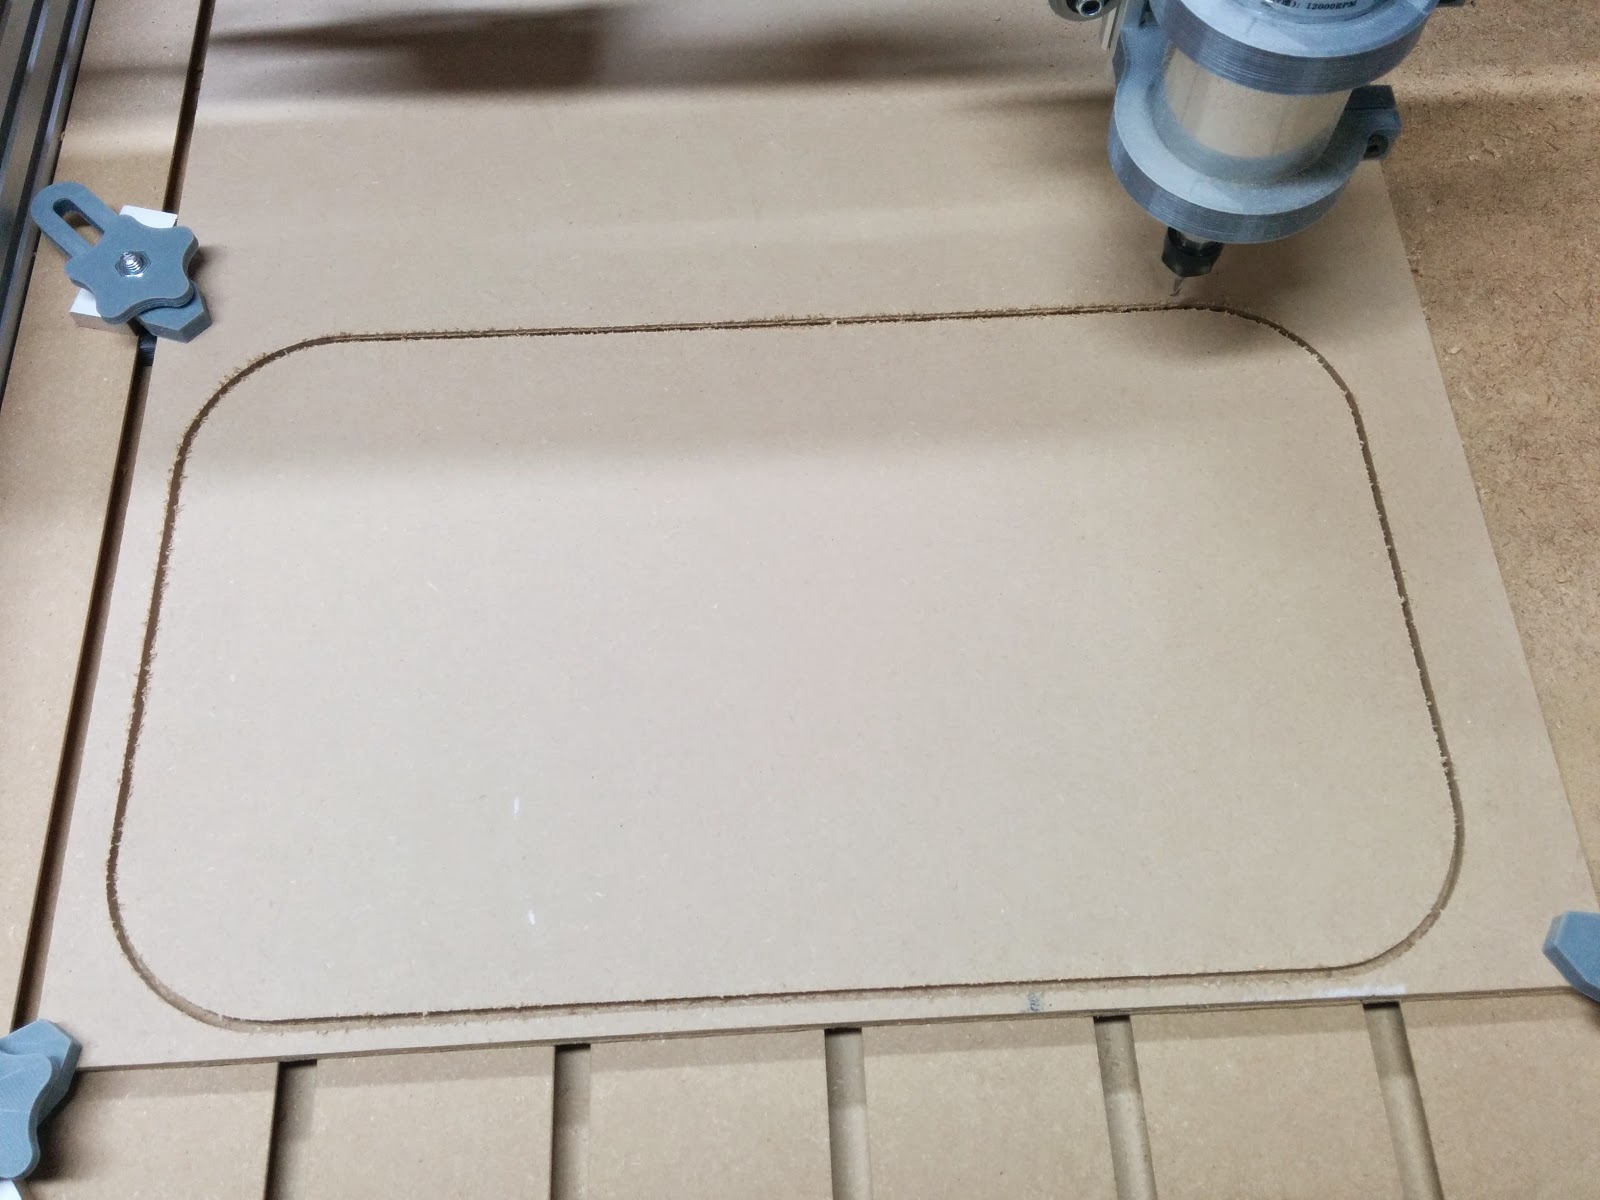
With the new firmware installed and my settings restored, I was able to cut the piece, and the z-axis stepper stayed energized through the entire cut. Here’s a short video of the start of the cut:
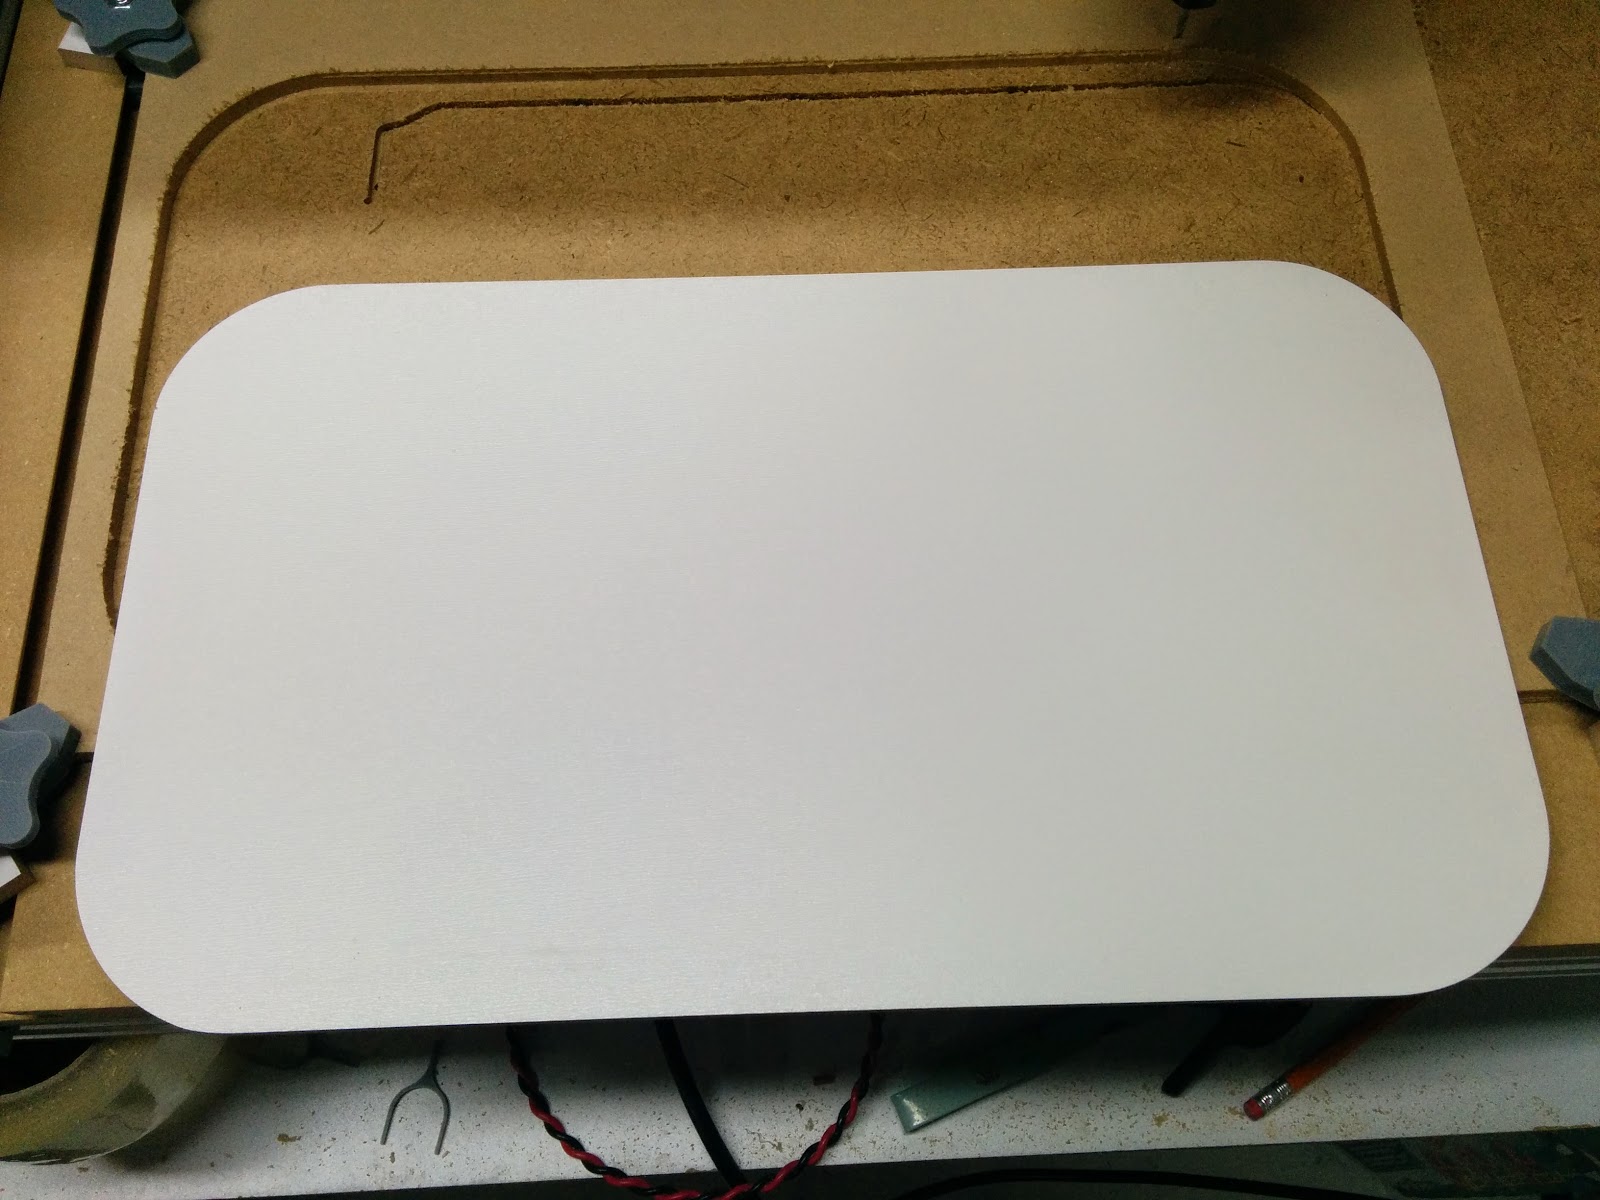
That was cut with 1.5mm depth of cut 800 mm/sec travel, and max RPM (which I believe is around 12,000 RPM). This was the finished cut.
The flip side was white vinyl, and since I was using an up cut endmill, I put the good side down so it would have a clean edge:
That’s all for now.
Related: Unboxing, Part 1, Part 2, Part 3, Part 4, Part 5, Part 6, Clamps


